06 May 22:
Problems in Production and a few tips. If a screw strips out, use a pair of vise grips to unscrew it.
A small difference in frame height should be taken care of now, then frames screwed together with a few screws.
It figures, the last module had a leg that was too long. This leg was cut an 1/8th of an inch too high, so we removed it and trimmed off a bit. It might be better to set the first module frame an 1/8th of an inch high on the leg, so problems like this can be adjusted for later vs having to recut.
Put screws in at an angle such that they can be removed from below the table, because once the bench top goes on it will be inaccessible. This one needed to be redone.
The blue tape covers the raw edge of the bench top, where lots of splinters live.
Wear PPE. SPlinters in fingers and eyeballs are not fun.
Leave a bit of space between the module and the will so it will be easy to install, there's space for wiring and relief for any facades that are added to the wall.
As mentioned before. attach modules from below.
Bench top screws placed every 6 inches or so.
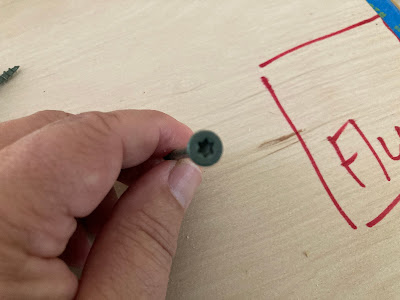
We use star drive deck screws, they rarely strip out and are easy to remove.
Star drive bits may start to wear out though, so buy a few spares.
Clamps are your friends.
Plan access to vents and electrical outlets.
Make sure windows can be reached.
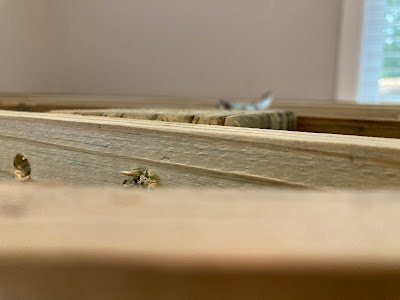
Plan a hiding space.
Remember when we rounded off sharp edges?
Use a carpenter square to find plumb on bench legs.
Keep outlets clear of legs.
Plan for the exact number of screws.
Video: https://youtu.be/H6EYg6gRnPA


No comments:
Post a Comment