Exploring industrial archaeology through model railroading
Super Bench
02 May 22:
We are building another layout, our 6th, this one will be HO scale. We've done benchwork several ways, for this bench we want a sturdy platform as we have no plans to move it very far once it is constructed. We are going to build the frame with dimensional lumber, 4x4 legs and 1x4 joists, because this lumber is readily available and minimal carpentry is required. The stability of the bench is an investment towards protecting expensive electronic components on the layout, and no one wants a wobbly bench. We are calling it the "Super Bench."
Note: Scroll down to 06 May to review problems we encountered and tips to avoid, or fix them.
While we used our trailer to transport the lumber, these pieces will also fit in most SUVs, or even our Subaru Outback.
We spent some time developing the track plan, then laid the plan out with the track we'll use on 1/2 inch rigid pink insulation foam. From there we decided what space we needed for buildings, sea ports, etc... and traced out what the total layout footprint will be. That foam footprint(s) become the templates for the benchtop. Note: Not all of the foam in this photo will be used for our layout's bench, but we'll save the cutoffs to make hills and mountains.
Tip: We use Owens Corning FOAMULAR Extruded Polystyrene (XPS) Rigid Foam Insulation, found at builder supply stores (Home Depot). It can easily be carved to the bench shape and scenery, and it is much more dimensionally stable and dense than open cell styrofoam. We consider it essential for layout locations where there can be large temperature and humidity fluctuations, such as a basement or garage.
We hauled the foam sheet outside and cut the benchtop shape on the foam with a jigsaw. The green foam is the Lowes brand of XPS foam, in theory it would perform the same but this sheet will only be used as a template.
Next we laid the foam over the benchtop material and traced the shape. You might be wondering why we don't use the entire board? Our layout transitions through 2 corners of a room, and we would not be able to reach those far corners easily if we used the entire board. We are also creating aisleways were layout operators and visitors have room to move around.
Tip: We use 3/4 inch plywood for our benchtop. It will stay flatter than thinner plywood over longer spans, allowing us to space the joists underneath at greater intervals. The few extra pounds adds to bench stability. For spaces that have temperature and humidity fluctuations we'd invest in marine grade or exterior grade plywood. Another option we have used is medium density fiberboard (MDF), it is HEAVY. MDF will not hold fasteners well though, and fasteners will play a key role in connecting the benchtop to the frame and legs of Super Bench.
The jigsaw cut was mostly straight, so we use a straightedge to draw a better line as a guide for the next saw cut. The foam shape is not critical, but the plywood shape is, to have a nice looking and well built bench.
45 degree angles make future cuts easier to fit, and we use them when we can.
01 May 22:
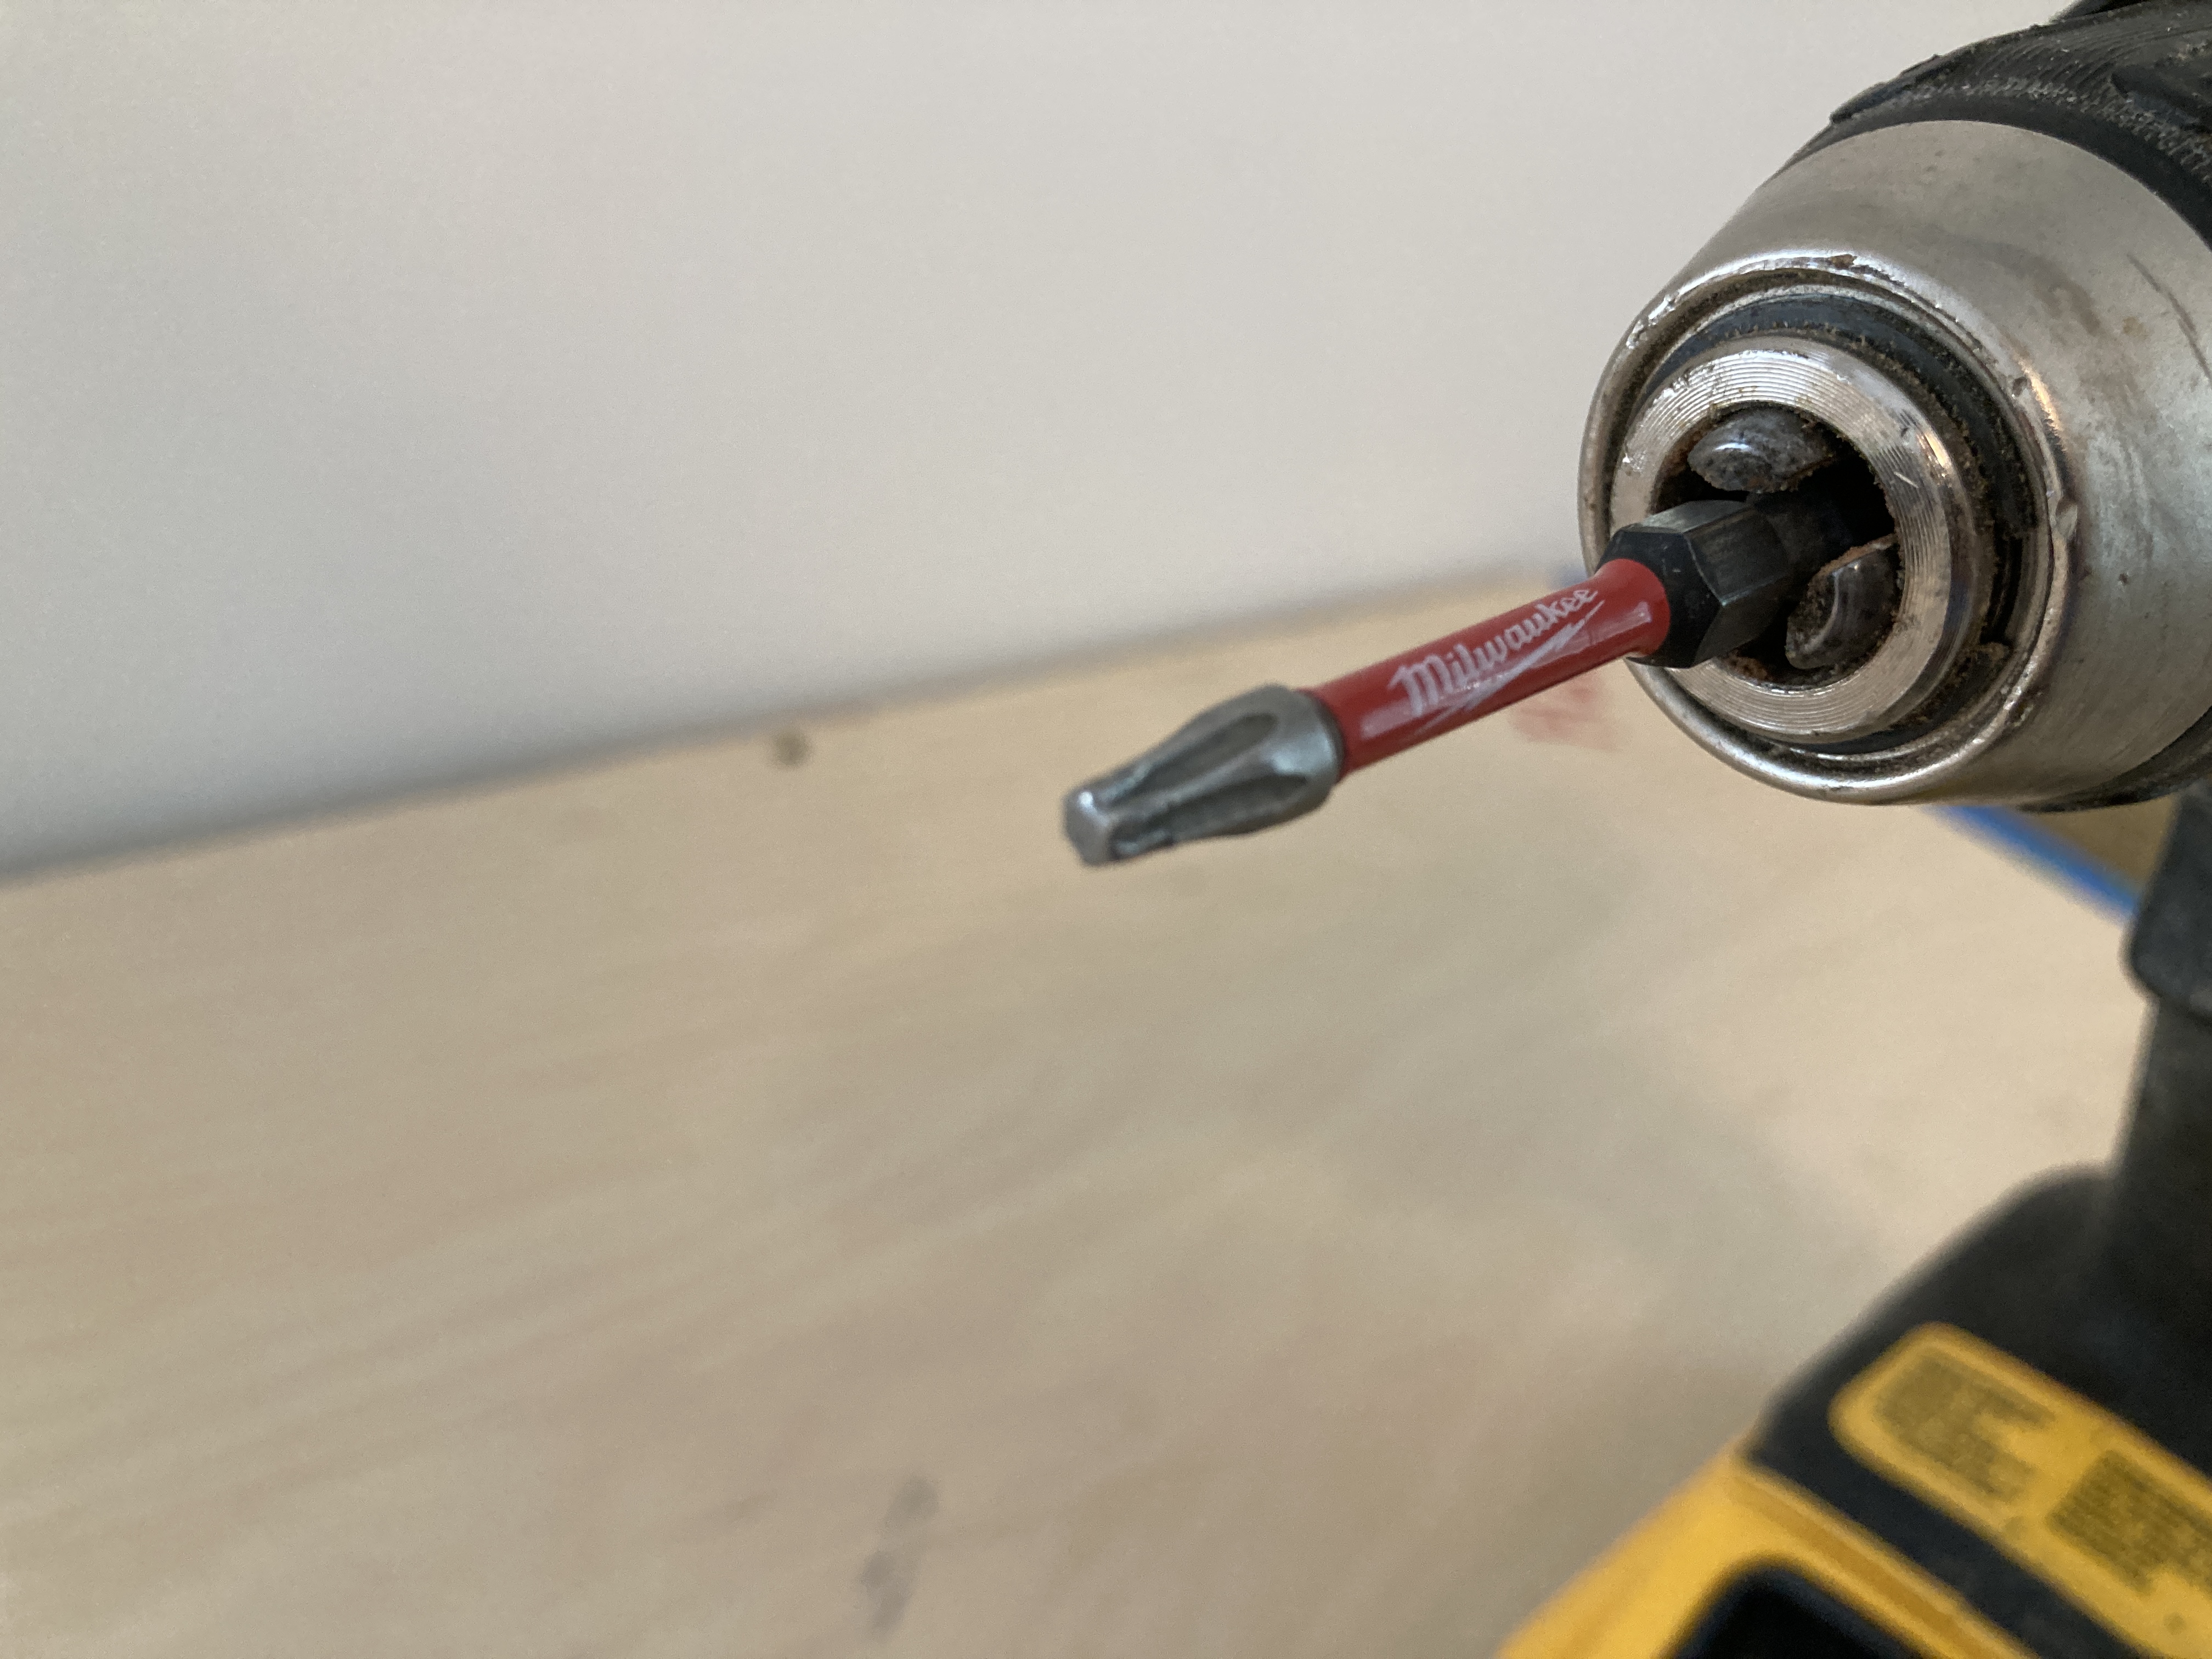
Photos are a little out of order but we'll go with it. Here the first of 3 modules is getting the legs attached. We left the top off to keep weight down for carrying everything inside. Star drive deck screws work great, installed in a way that they can be reached from below.
While the foam was laid out we marked where we wanted the legs to go, so we knew where to add extra joists...then changed our minds....then changed our minds again.
First module in place with 3/4 inch plywood top.
We found it easiest to built the support structure on top of the bench top. On the first module I used cleats to attach the top once inside, but on the next 2 I screwed the top directly into the 1x4 framework, as that top section should move in one piece, if it ever needs to be moved.
The closely spaced joist will serve as attachment points for legs. Ignore the cleats, that turned out to be extra work.
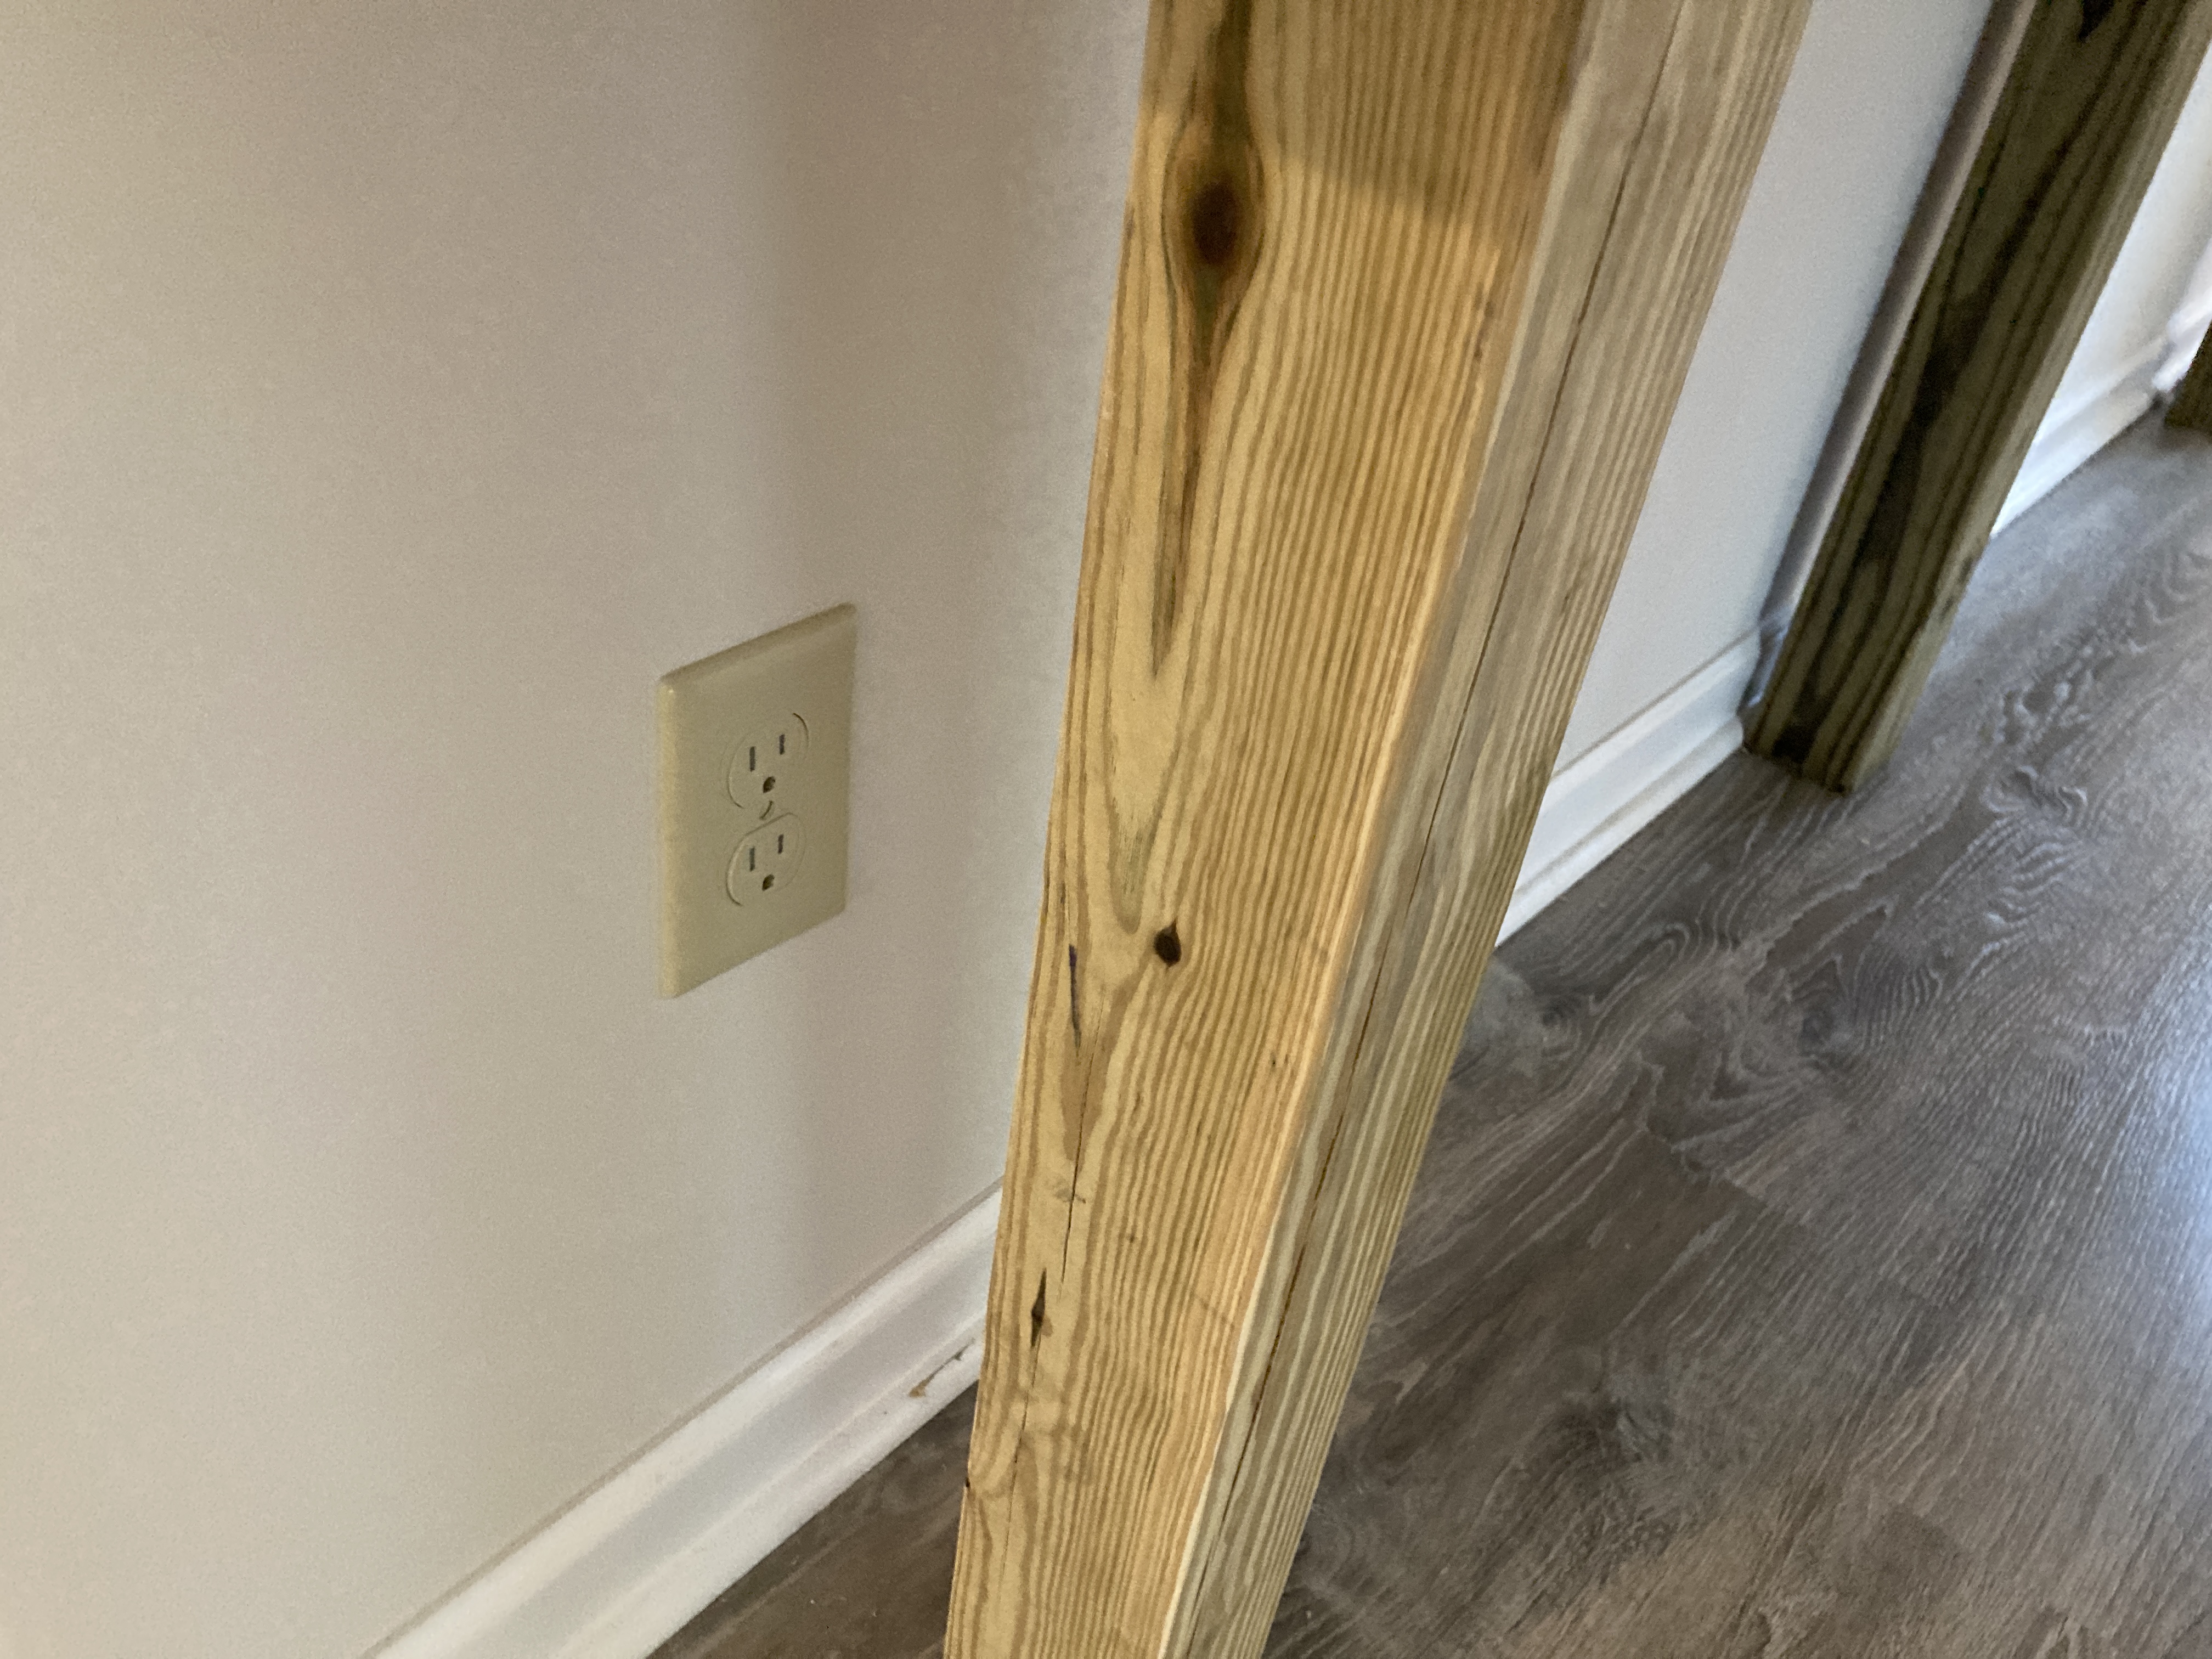
A little planning here would have led us to position this leg left or right of the plug. Once I saw that I had managed to put it right in front of the plug I simply moved it away from the wall a few inches.
Ready for the plywood top.
04 May 22:
We continued work on the Super Bench, cut out the 3/4 inch plywood for the bench top.
Tip: You can cut ground level by placing a scrap of foamboard under the plywood. It's soft to kneel on as well.
A Gorilla Cart makes a handy mobile workshop.
We headed to the trees to find shade and cooler temps. Off in the woods Skipper is Skippervising.
A little 4x4 folding card table makes a nice portable workbench.
Clamps are used to hold apron pieces while screws are being driven.
We name our clamps after friends and family, so it feels like they are there helping.
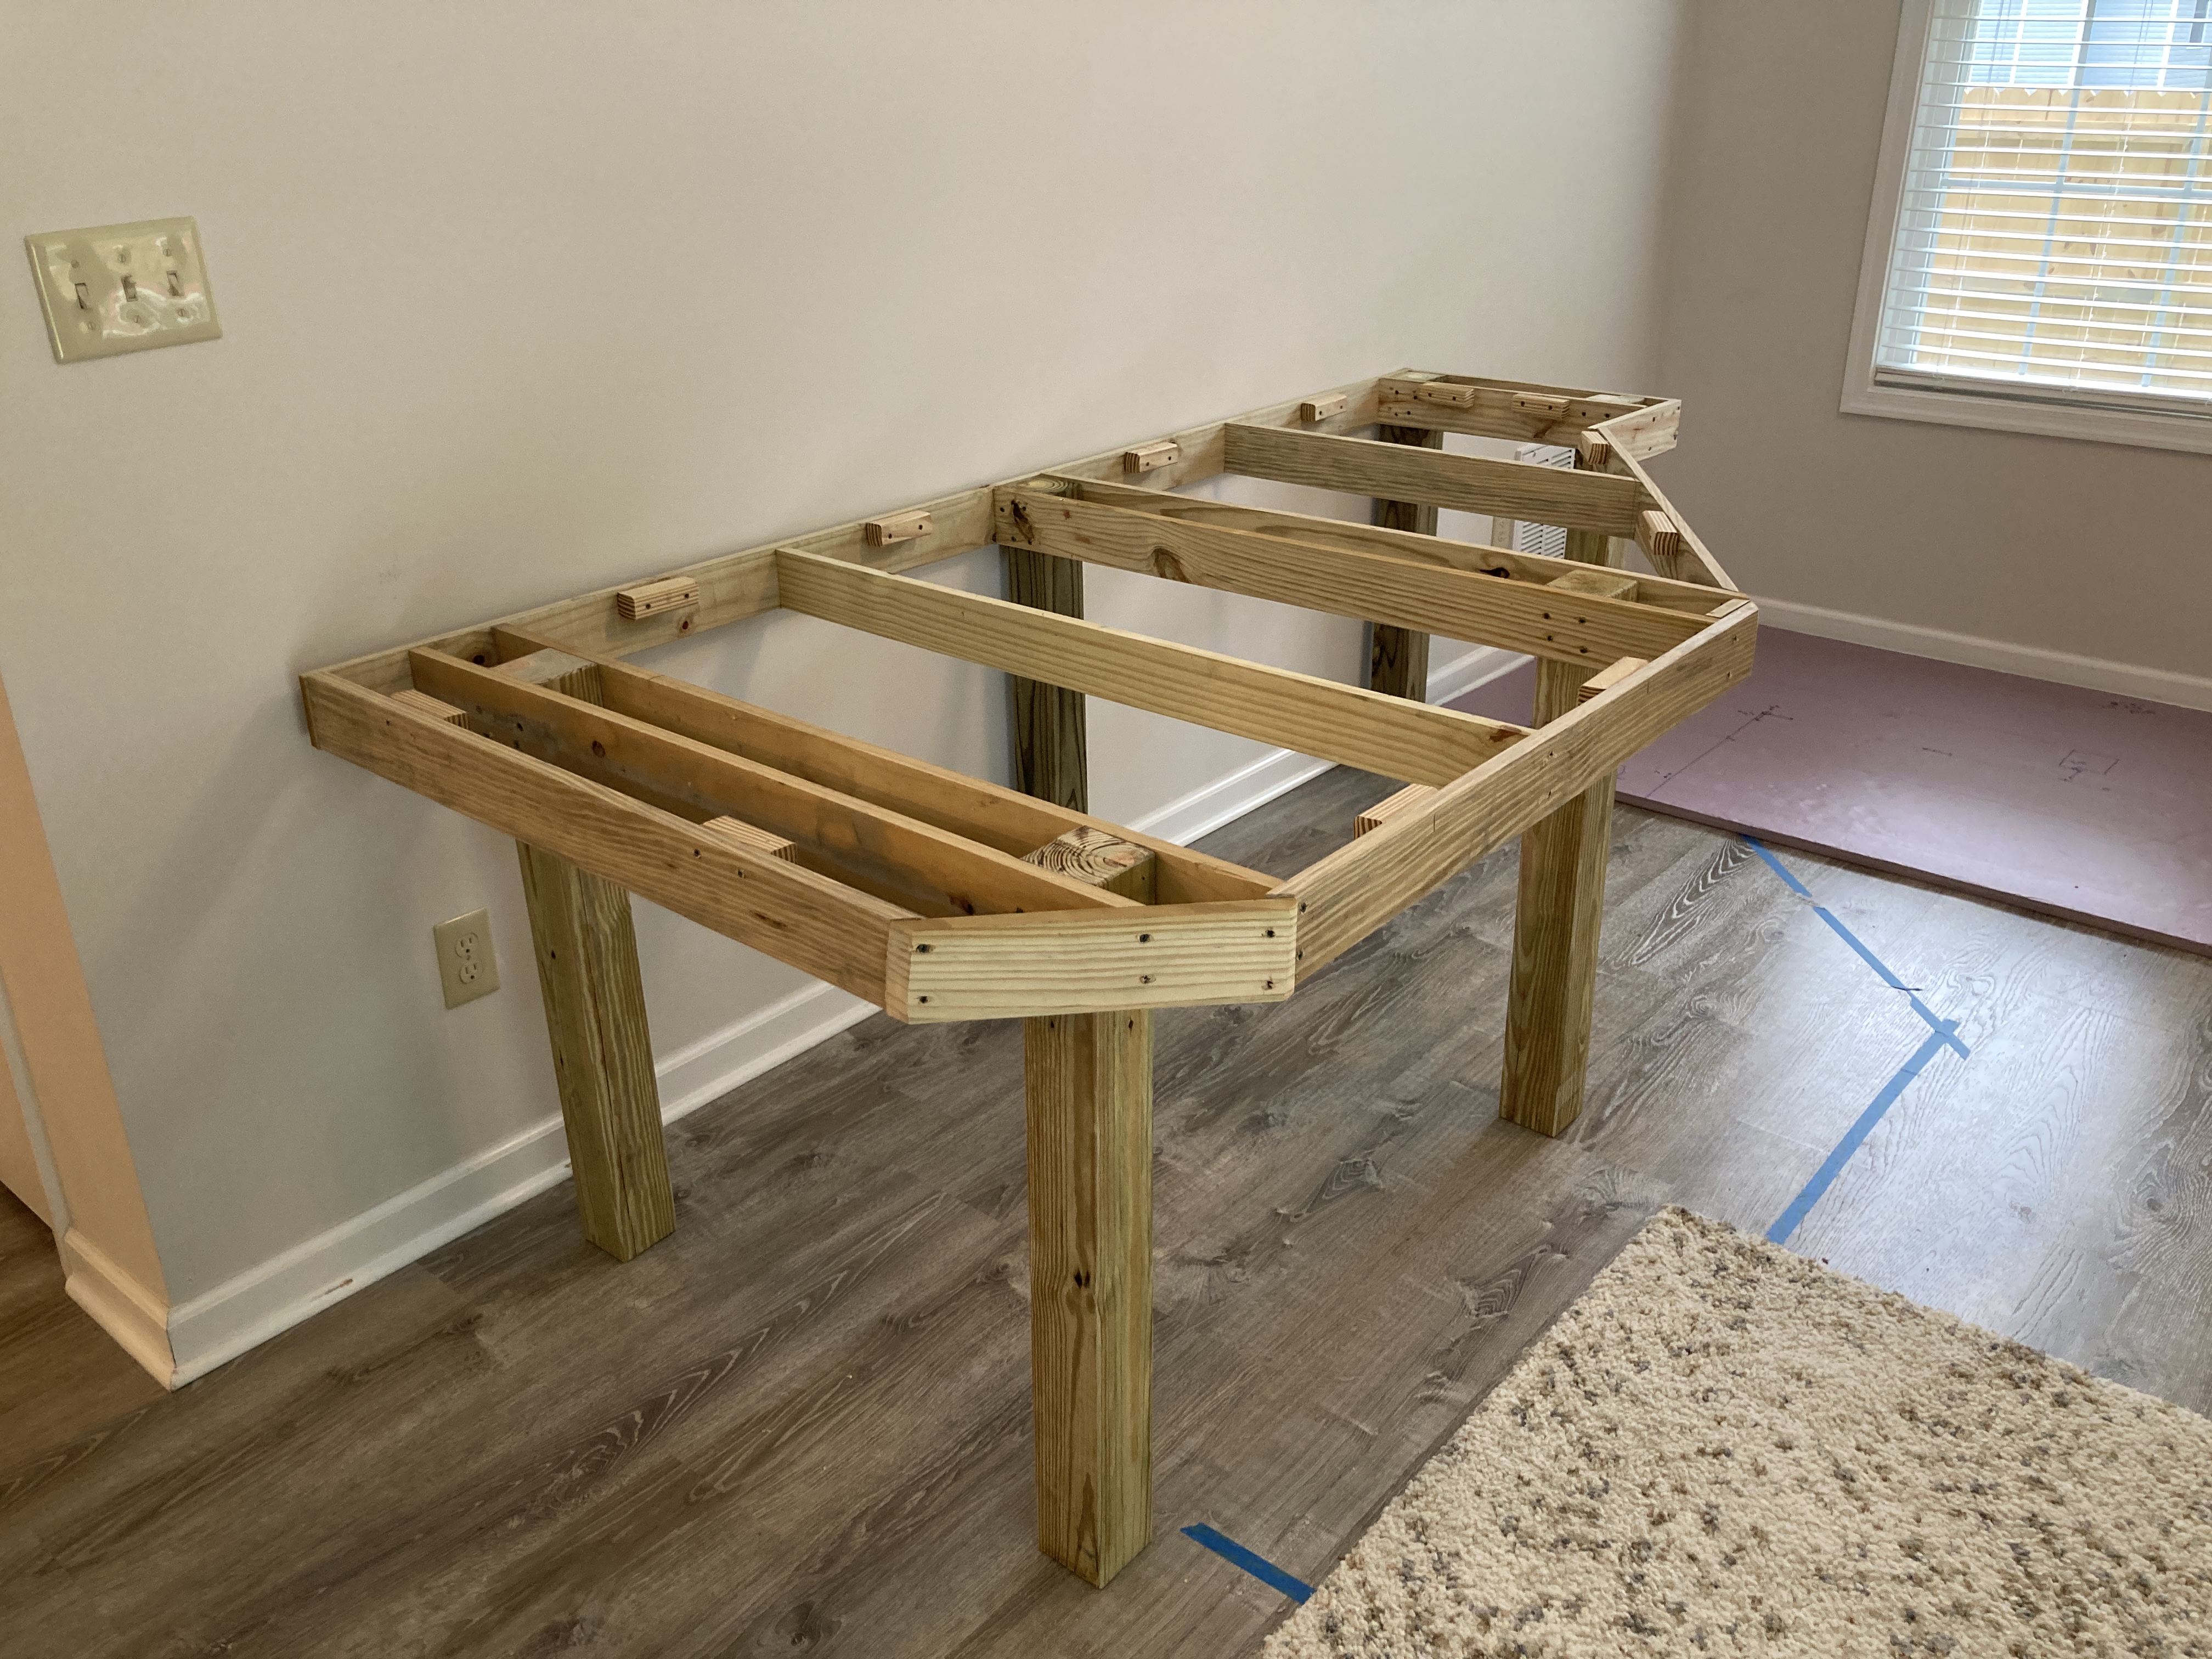
2nd module frame finished.
Table top screwed down to the frame with deck screws.
3rd frame installed.
We checked each module for level.
06 May 22:
Problems in Production and a few tips. If a screw strips out, use a pair of vise grips to unscrew it.
A small difference in frame height should be taken care of now, then frames screwed together with a few screws.
It figures, the last module had a leg that was too long. This leg was cut an 1/8th of an inch too high, so we removed it and trimmed off a bit. It might be better to set the first module frame an 1/8th of an inch high on the leg, so problems like this can be adjusted for later vs having to recut.
Put screws in at an angle such that they can be removed from below the table, because once the bench top goes on it will be inaccessible. This one needed to be redone.
The blue tape covers the raw edge of the bench top, where lots of splinters live.
Wear PPE. SPlinters in fingers and eyeballs are not fun.
Leave a bit of space between the module and the will so it will be easy to install, there's space for wiring and relief for any facades that are added to the wall.
As mentioned before. attach modules from below.
Bench top screws placed every 6 inches or so.
We use star drive deck screws, they rarely strip out and are easy to remove.
Star drive bits may start to wear out though, so buy a few spares.
Clamps are your friends.
Plan access to vents and electrical outlets.
Make sure windows can be reached.
Plan a hiding space.
Remember when we rounded off sharp edges?
Use a carpenter square to find plumb on bench legs.
We used 3 layers of Owens Corning Extruded Polystyrene (XPS) Foamboard on top of the benchtop, you can use more or less depending on if you want to have valleys and streams incorporated into your layout. Elmer's Carpenters Glue keeps the foamboard from moving around. I tried a brush at first, but what ended up working the best was a foam roller.
And just like that you can run trains, figure out if your track plan works, make adjustments, etc...Check for any hills or valleys on the benchwork and take care of adjustments now. We had to shim a few legs to get the top of the foam flat. Another option is to unscrew a leg and adjust that, but we are going to give everything a week or two to settle and see how things look.


No comments:
Post a Comment